Tips and Tricks for a Flawless Finish
Are you gearing up for a painting project but feeling overwhelmed by the preparation process? Fret not! In this comprehensive guide, we’ll walk you through the essential steps to ensure your surfaces are primed and ready for a flawless finish.
1. Clear the Space
Before diving into painting, clear the area of furniture, decor, and other obstacles. This not only provides ample space to work but also protects your belongings from accidental splatters and spills.
2. Clean and Prep the Surface
A clean surface is crucial for optimal paint adhesion. Start by washing walls with a mild detergent solution to remove dirt, grease, and other contaminants. For stubborn stains, consider using a trisodium phosphate (TSP) solution for thorough cleaning.
3. Repair Imperfections
Inspect the surface for any imperfections such as cracks, holes, or dents. Use spackling compound or filler to patch up these areas, then sand them smooth once dry. Proper surface preparation ensures a seamless finish and prevents imperfections from showing through the paint.
4. Sanding for Smoothness
After repairing imperfections, lightly sand the surface to smooth out any rough patches and create a uniform texture. Use fine-grit sandpaper for best results, and be sure to wipe away any dust with a tack cloth before painting.
5. Prime for Perfection
Priming is a crucial step in the painting process, especially for porous or uneven surfaces. Apply a coat of primer to seal the surface, improve paint adhesion, and enhance color accuracy. Choose a primer that matches your paint type and desired finish for optimal results.
6. Protect Surrounding Areas
Take the time to protect surrounding surfaces and areas that won’t be painted. Use painter’s tape to mask off edges and trim, and lay down drop cloths or plastic sheeting to protect floors and furniture from accidental spills and splatters.
7. Choose the Right Tools
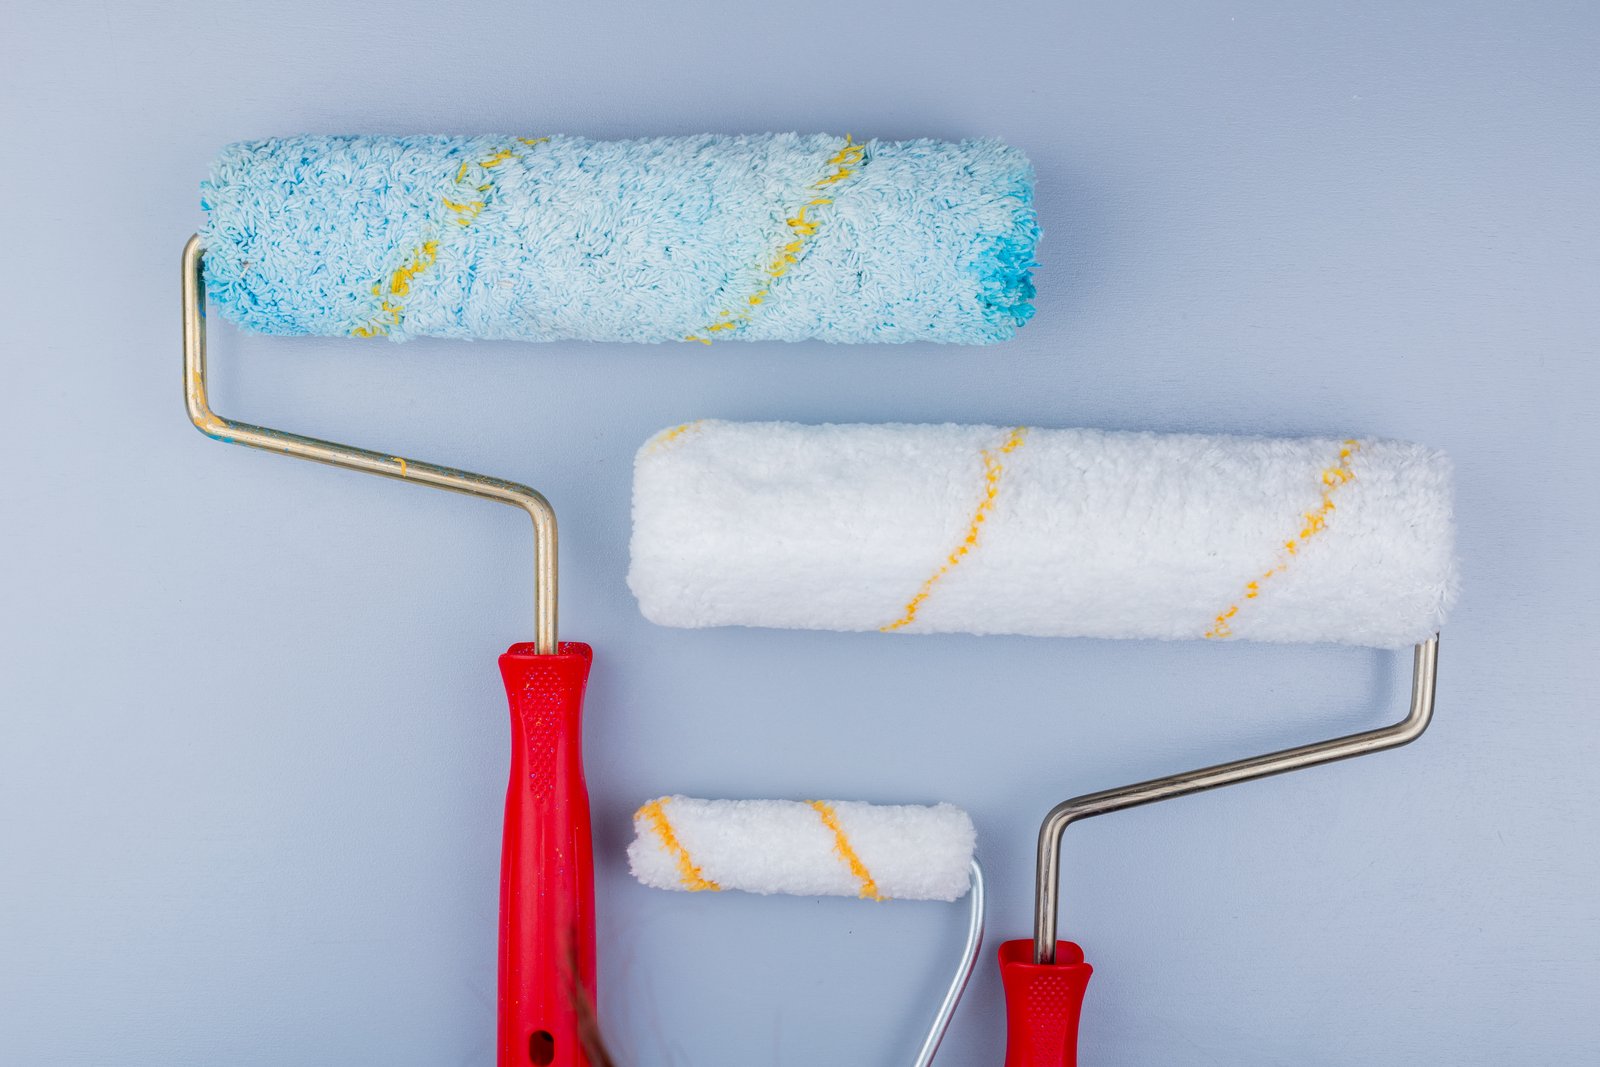
Selecting the right tools is key to achieving professional-looking results. Invest in high-quality paint brushes, rollers, and accessories that are suited to your project’s needs and the type of paint you’ll be using.
8. Practice Proper Painting Techniques
When it comes to painting, technique matters. Use long, smooth strokes and maintain a wet edge to prevent visible brush or roller marks. Work in small sections, blending each area seamlessly into the next for a uniform finish.
9. Allow for Proper Drying Time
Patience is key when it comes to painting. Allow each coat of paint to dry completely before applying additional coats or removing masking tape. Rushing the drying process can result in uneven coverage and compromised adhesion.
10. Clean Up and Maintain
Once the painting is complete, properly clean and store your tools for future use. Remove painter’s tape while the paint is still slightly tacky to prevent peeling, and touch up any areas as needed for a polished final result.
With these tips and tricks in hand, you’re well-equipped to tackle your next painting project like a pro. Remember, proper preparation is the foundation of a flawless finish, so take the time to prep your surfaces thoroughly for beautiful, long-lasting results.


